
In today’s post, I’ll tell you about the working ways of downloading video lessons from an online learning platform called Lynda (LinkedIn Learning). This article will be useful for those who look for a stable learning process but constantly face problems with internet connection. I’ve tried all the methods I’ll describe to be 100% sure of their efficiency.
P.S. The current review will cover not only inbuilt Lynda’s functionality but also external services like Keepvid and Filmora.
Also, here is the list of related articles, which can be useful for you to expand your knowledge about the platform.
Also, here is the list of related articles, which can be useful for you to expand your knowledge about the platform.
Lynda’s comparisons:
Keep reading to know more!
Top solutions
Using premium subscription
The first method is the easiest one. In case you’re Lynda’s premium subscriber, the system allows you to download learning courses from the service directly. It’s a significant difference between premium and standard Lynda’s subscriptions.
All you need to do is to go to your Lynda’s account and search for the course you want to download. After that, simply click on the “Download” button that you can find below the video player and select the folder to save the video file. Along with that, you may use Lynda’s mobile applications, which work equally stable on Android and iOS devices, to download the video lessons as well.
Using Google Chrome on Windows OS
This method is more complicated compared to the previous one. However, the first step is similar to the one I’ve described above. When you choose the video, it’s important to fully buffer it. After that, you need to go to the folder with the downloaded files that you can find following this path:
C:\Users\UserName\AppData\Local\Google\Chrome\User Data\Default\Cache.
In that folder, you can find many files with random names. On the top bar, there will be filters to separate files by date and size. All you need to do is to select large files, which are downloaded recently.
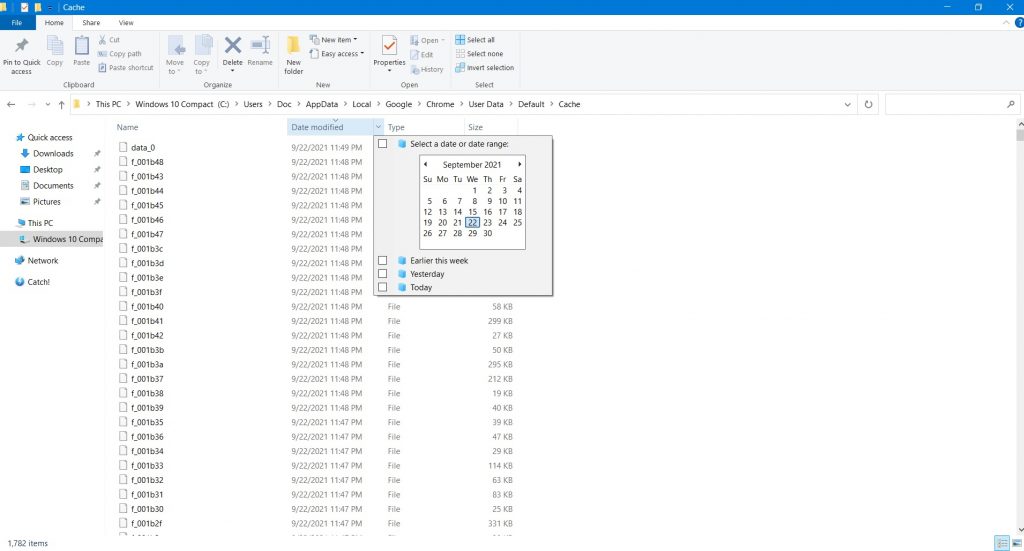
After that, you may open them by means of any supported media player.
Using Keepvid
This method can assist you with downloading Lynda’s video lessons by means of the Keepvid service. The current service has functionality not only to download videos but also to modify or convert them using an inbuilt editor.
To start working with Keepvid, copy the URL of the online course or lesson, open Keepvid, and put the link into the search box.
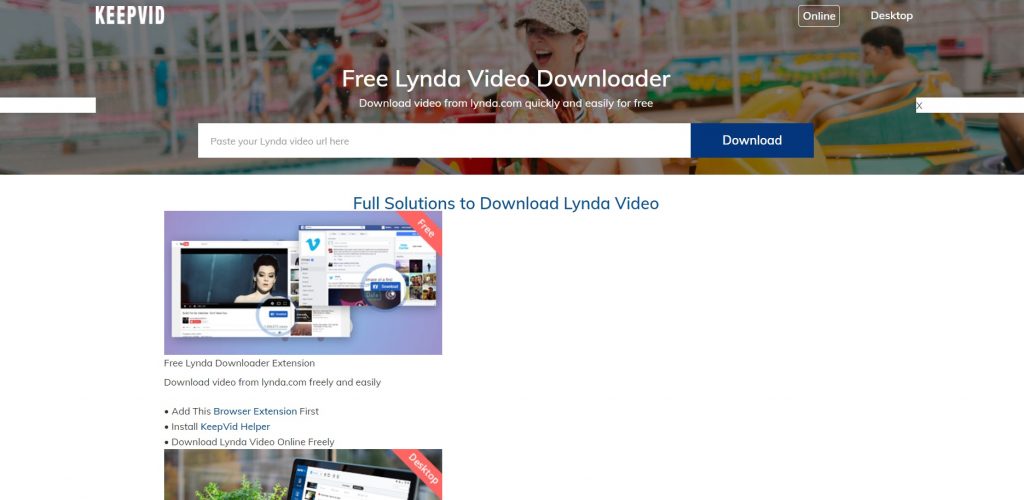
After that, just click on the “Download” button to start downloading the video with default settings. If you want to change the format of the video file, you may click on a dropdown menu next to the button and choose among the available options.
The current service is web-based. However, you may install a desktop application as well.
You may use Keepvid’s free version with a limited number of downloads or become a paid subscriber without this restriction:
- one-year license costs $29;
- a lifetime license costs $39.
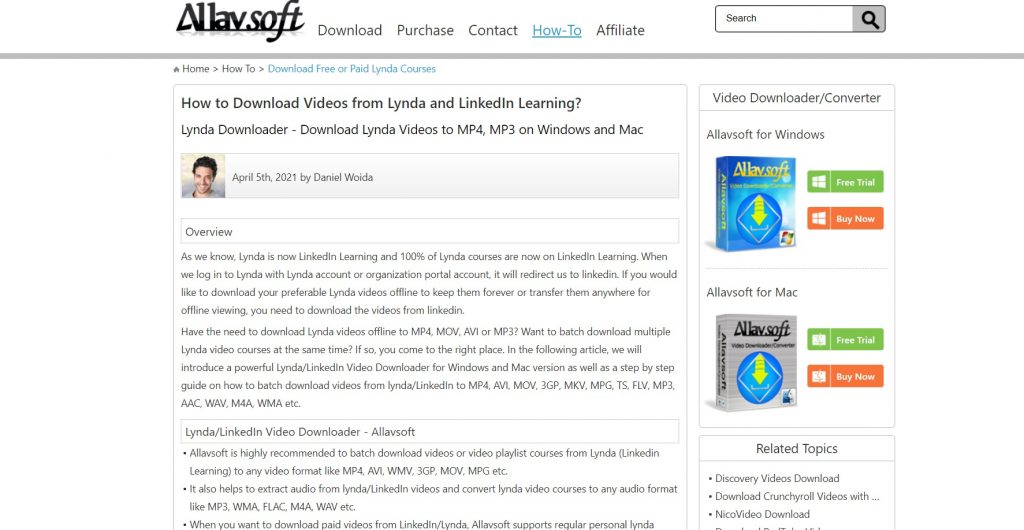
Using Allavsoft
Allavsoft is a service that has a lot in common with the previous tool. It’s pricier than Keepvid but has more editing options. The service works on all types of devices and supports different operating systems. Feel free to activate the Allavsoft trial version or get a paid license:
- $19.99 for a monthly subscription;
- $29.99 for a yearly subscription;
- $59.99 for a lifetime subscription.
All the steps of downloading a video are the same as those I’ve already described in the previous method.
The service also supports an editing mode that allows you to use different media formats for videos.
Using ClipConverter
ClipConverter is a free and web-based service that operates faster than Allavsoft or Keepvid. At the same time, it supports fewer file formats compared to the previous services. The list of supported video and audio files you may find on the ClipConverter’s homepage.
You won’t find significant differences between this service and previous ones in terms of downloading files. However, there is one little detail: ClipConverter doesn’t offer default settings for media files. That’s why you can’t start downloading without choosing the file format.
Currently, ClipConverter supports downloading in the following resolutions: 720p, 1080p, 2k, 4k.
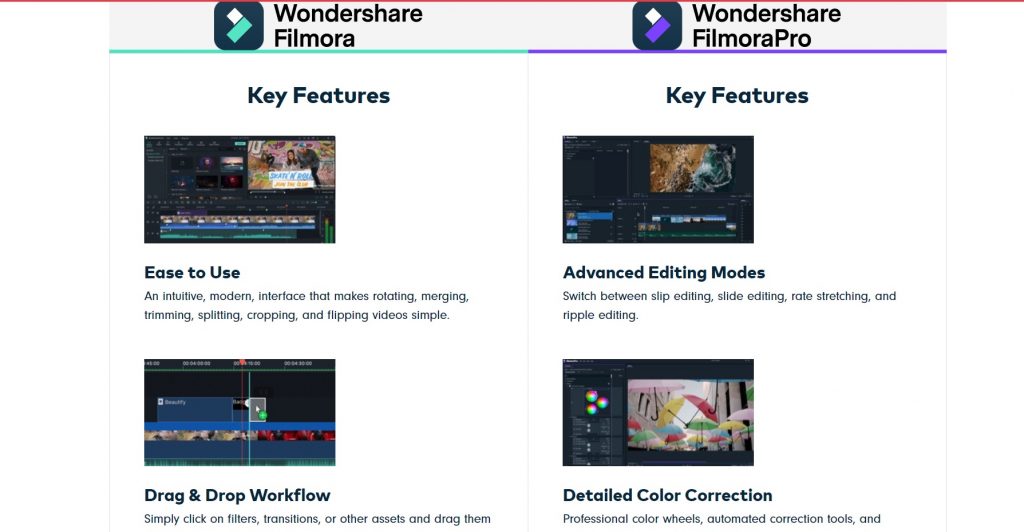
Using video recording service (Filmora)
This method is different from those I’ve described above and can be useful if you’re Lynda’s standard subscriber.
Filmora works the same stable on Mac and Windows OS and offers 2 versions of the product:
- Filmora;
- FilmoraPro.
Keep in mind that it’s better to select a standard Filmora subscription if you want to download videos only. If you’re going to use keyframing, detailed color correction, and other advanced features, I’d recommend you to get a FilmoraPro version.
The cost of FilmoraPro subscription is the second reason for such a recommendation:
Filmora for Windows OS:
- $39.99 for a yearly subscription;
- $69.99 for a lifetime subscription.
Filmora for Mac OS:
- $51.99 for a yearly subscription;
- $79.99 for a lifetime subscription.
FilmoraPro for Windows OS:
- $89.99 for a yearly subscription;
- $149.99 for a lifetime subscription.
FilmoraPro for Mac OS:
- $89.99 for a yearly license;
- $149.99 for a lifetime license.
Compared to its competitors, Filmora permits you to record Lynda’s lessons at a high speed.
To record a video on Filmora, you need to open the service and choose a full-feature mode. After that, you should start playing the video lesson you want to record, turn back to Filmora, and click on the red button named “Record”. Then you need to choose the folder where your video will be saved.
This method is more flexible compared to the previously described ones. For example, you may choose between different types of recording (“Fullscreen”, “Custom”, or “Target screen”), select a frame rate, add effects, and many more.