
This post is focused on the ways to add Google AdSense to your Squarespace website.
Google AdSense is a targeted marketing tool that analyzes a web page and displays advertising banners related to the page content. Also, it shows ads based on the previously visited resources.
To get started with AdSense, you need to register on the official website and get approved. After that, you may earn money for banner clicks or site visits.
The service provides website owners with comprehensive statistics about click ratings, a number of page views, total revenue, and so on.
As you can see, it’s an easy-to-use, efficient third-party integration that is supported by most of the platforms and Squarespace is one of them.
Before we dive deeper into the topic, I offer you to check the related articles:
Squarespace description:
Squarespace Review & Pricing [2021]
Best Squarespace templates for podcasting
How to add AdSense to Squarespace
How to add favicon to Squarespace
How to embed PDF into Squarespace
Methods to add a responsive table to Squarespace site
Squarespace comparisons:
Overview
First of all, it’s important to read Squarespace’s “Terms of Service” and “Use Policy” to know if your website’s content follows Squarespace’s rules. Keep in mind that you can connect AdSense only if you’re a “Commerce” or “Business” plan subscriber. The same is true for other additional services.
Keep in mind that Squarespace is a platform that doesn’t allow you to add AdSense through an inbuilt functionality.
The first thing I want to point out is that Google AdSense requires an ads.txt file. This file is stored on companies’ web resources and contains information about other companies, which have the right to sell their products and services. This file is a way to confirm the validity of sellers and protect customers against fraud.
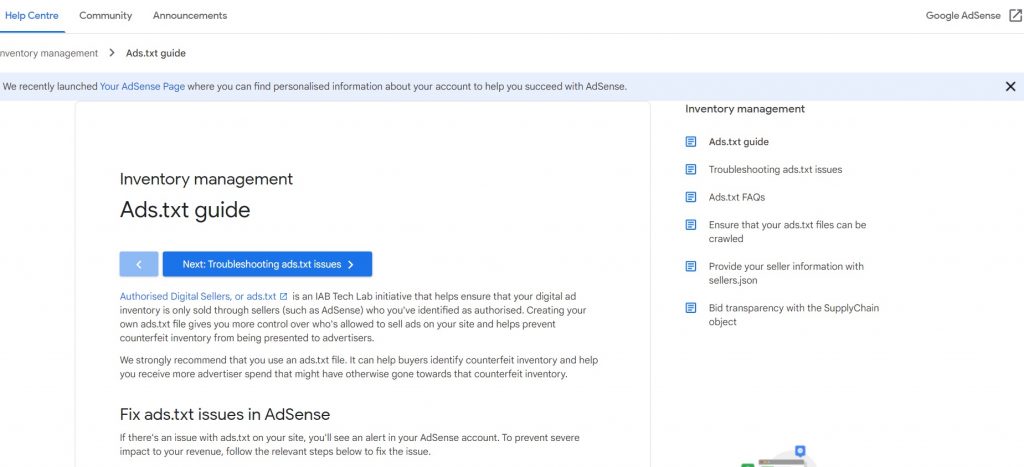
To get it, you need to go to your AdSense account and choose the option “generate ads.txt for…”. Then, choose the required Squarespace website from the drop-down menu. After that, simply download that file and add it to the root level of the web resource (it’s situated after the top-level domain). Only in this case, advertisements can work properly.
The problem is that Squarespace doesn’t support a File Transport Protocol, so you can’t manage the place where this file will be saved. It can be uploaded anywhere.
However, it’s possible to fix this issue using third-party websites, so let’s take a closer look at this method.
Usage of third-party websites
First of all, I’d like to mention that this option is available for free plan users.
If you do a little research, you can find web resources, which offer you to upload ads.txt files to their catalog and try to redirect URLs. On the one hand, it’s a working method to trick Google. But on the other hand, you can’t always be sure what those websites can do with your ads.txt file. It’s not the safest way since that file contains Google Adsense publisher ID numbers. Plus, you never know when those websites will stop their business activity.
As a result, we have one of the easiest and unsecured methods to add advertisement banners on the site. In this case, you take full responsibility for the performance of advertising and the safety of your personal information.
Usage of Code Blocks
Unlike using third-party websites, this method is available only for paid Squarespace subscribers. In this case, you don’t need to go to Google AdSense and generate an ads.txt file. Squarespace allows you to add external widgets or customize any page by means of code blocks.
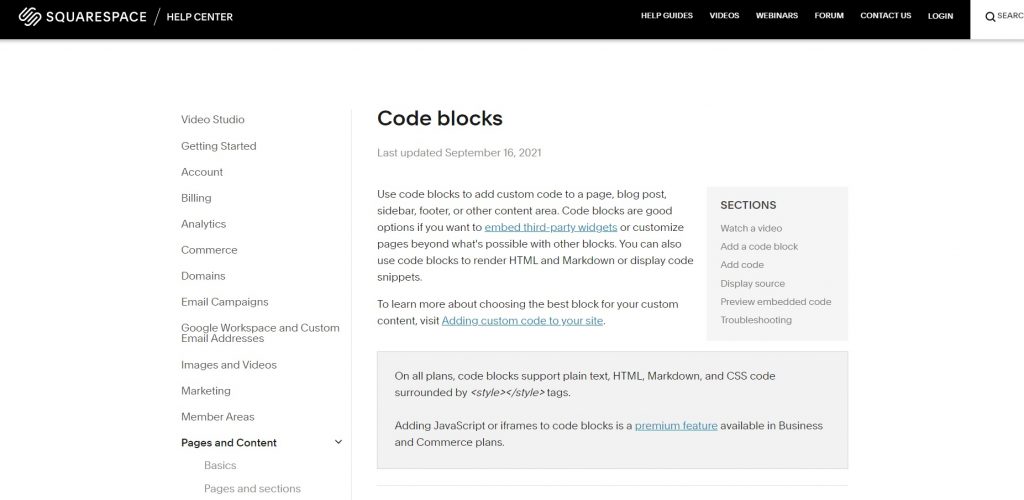
It’s possible to add them to any landing page, blog post, and even footer. This is one of the premium options and it’s not available for “Personal plan” subscribers.
First of all, you need to go to the Google AdSense website, log in, and click on the “Sites” button from the bar on the left side of the tab. Then, fill the URL of your website in the appeared box and click the “Next” button.
After that, the system will generate a personal ad code that you need to copy and go back to your Squarespace website.
Here you need to find the “Settings” button from the menu, select “Advanced settings” and find the “Code injection” option. After that, you can add your code to the header code box (at this stage, it’s the only place you can add ad code). Then, you need to access the Google AdSense website again and click on the “Submit” button.
Be ready to wait a bit, because Google requires some time to process the request.
After your request is approved, it’s time to build and customize advertisement units. I’d recommend turning off the “Automation ads” option. Otherwise, the ad banner will be added randomly to any place of your web resource.
Personally, I prefer to build one ad unit for the body and one for the sidebars.
Step by step guide
To start, you need to turn back to the AdSense website and choose the “Ads” option from the left sidebar menu and find the “ad unit” tab.
There you can see several types of units, which you can add to the feed or to the articles of your website.
Now, let’s take a look at the creation of the sidebar ad unit that you can do in 4 easy steps:
- Choose the name for the ad unit;
- Select the shape of the ad unit (it can be square or vertical);
- Customize ad unit’s size (you may choose between responsive or fixed sizes);
- Click on the “Create” button.
The process of creating a horizontal ad unit for the body is identical. After that, your personal ad code will be transformed into ad units, which are stored as “Existing ad units”.
Now, you can place units throughout the website.
How to add units to the blog posts
First of all, you need to choose the page you want to embed the code block to. Then, go to the Google AdSense website, get your personal code, and fill it in the ad unit you’ve already created.
Keep in mind that you can get the ad code anytime: just select the “Ads” option, choose “By ad unit”, and click on the “< >” symbol to copy the code snippet.
After that, go back to your website, select the location on the page, and add a code block. Then just paste the code snippet you’ve just copied and click on the “Apply” button.
Don’t worry if you see the notification that the script for the page is disabled. Just refresh the page and browse your website as a visitor.